The Loveprint Process

Instructions for Creating Your Loveprint

After an order is placed for a Loveprint Jewelry piece or for a gift card, a Loveprint To Go Kit is sent to the customer. The kit will contain the wax impression material needed to create fingerprint, palm print, or paw print impressions for your Loveprint Jewelry piece.

Please read the instructions thoroughly or watch the how to videos below to ensure the best print possible. Loveprint To Go Kits do not expire.

Included in the Loveprint & Loveprint Paws To-Go Kits:

  • Wax balls in individual small containers with lids. We ship 2 containers per individual being imprinted. Please use all wax and we will choose the best sample. 
  • Wax paper strips are included in each container. The paw print kit comes with 2 flat waxes per pet and they are wrapped in wax paper.
  • Instructions on how to take the imprints.

*For paw print impression instructions, please refer to the instructions that come with the kit and/or watch the video below.

What You Will Need:

  • The individual or pet you are creating an impression of.
  • A microwavable safe container, such as a coffee mug, cup, or bowl filled 2/3 of the way with water.
  • A firm, flat surface to set the wax on when taking the impression.

How To Videos:

Adult Fingerprints
Paw Prints
Children's Fingerprints
Palm Prints
Step #1

Softening the wax.

Heat the water in the microwave to the approximate temperature you would drink a hot beverage. Make sure it is hot, but not boiling hot! This should take about 45-60 seconds depending on the power of your microwave. If you do not have a microwave then heat water on your stove.

  • If the water is too hot to touch, reduce the temperature of the water by adding cool water or let the water cool.

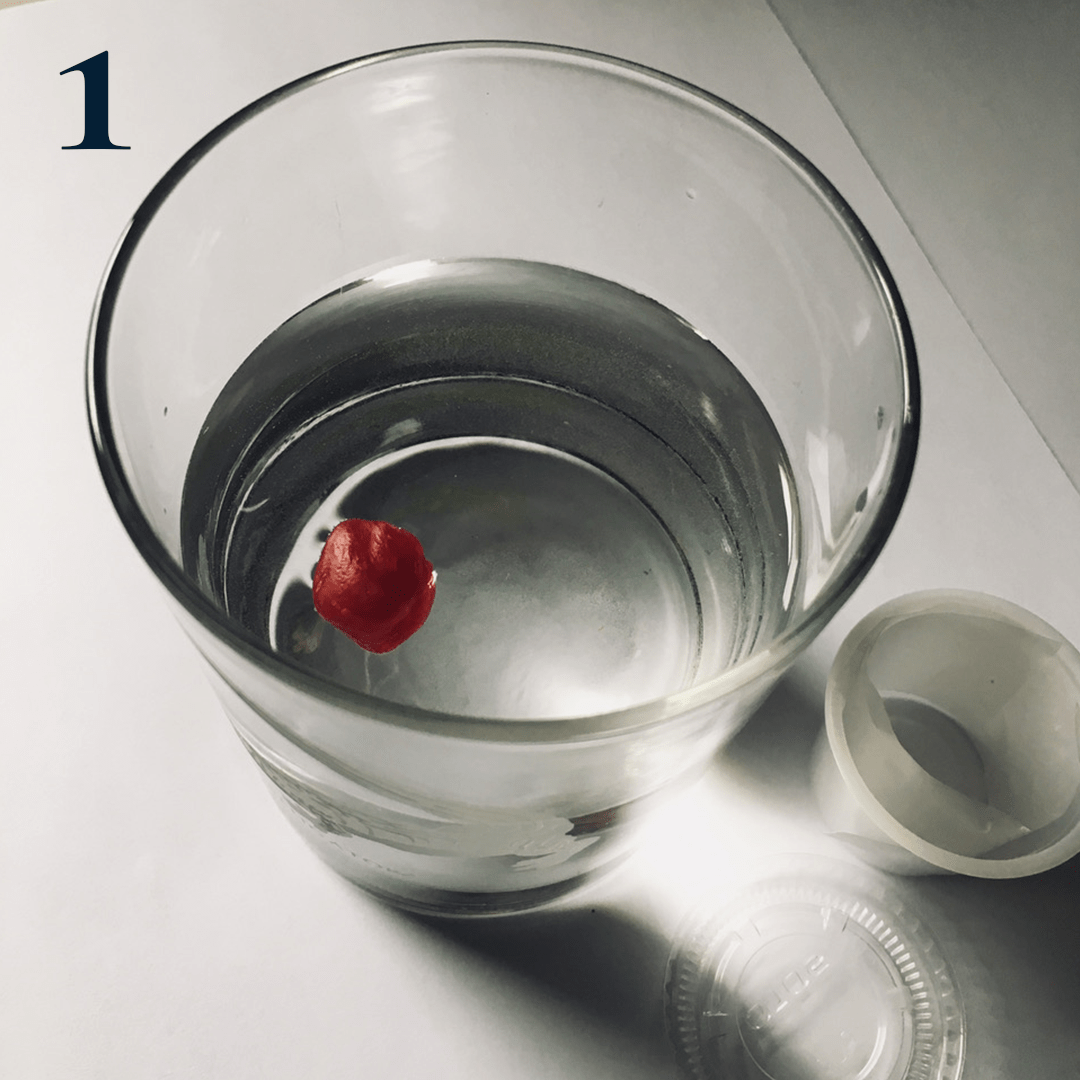
Place the wax balls in the hot water for about 15-20 seconds to soften. (see photo #1) You can put all the waxes in the water together or individually.

Depending on how long it takes to make all the impressions, you may have to reheat the water if it has cooled.

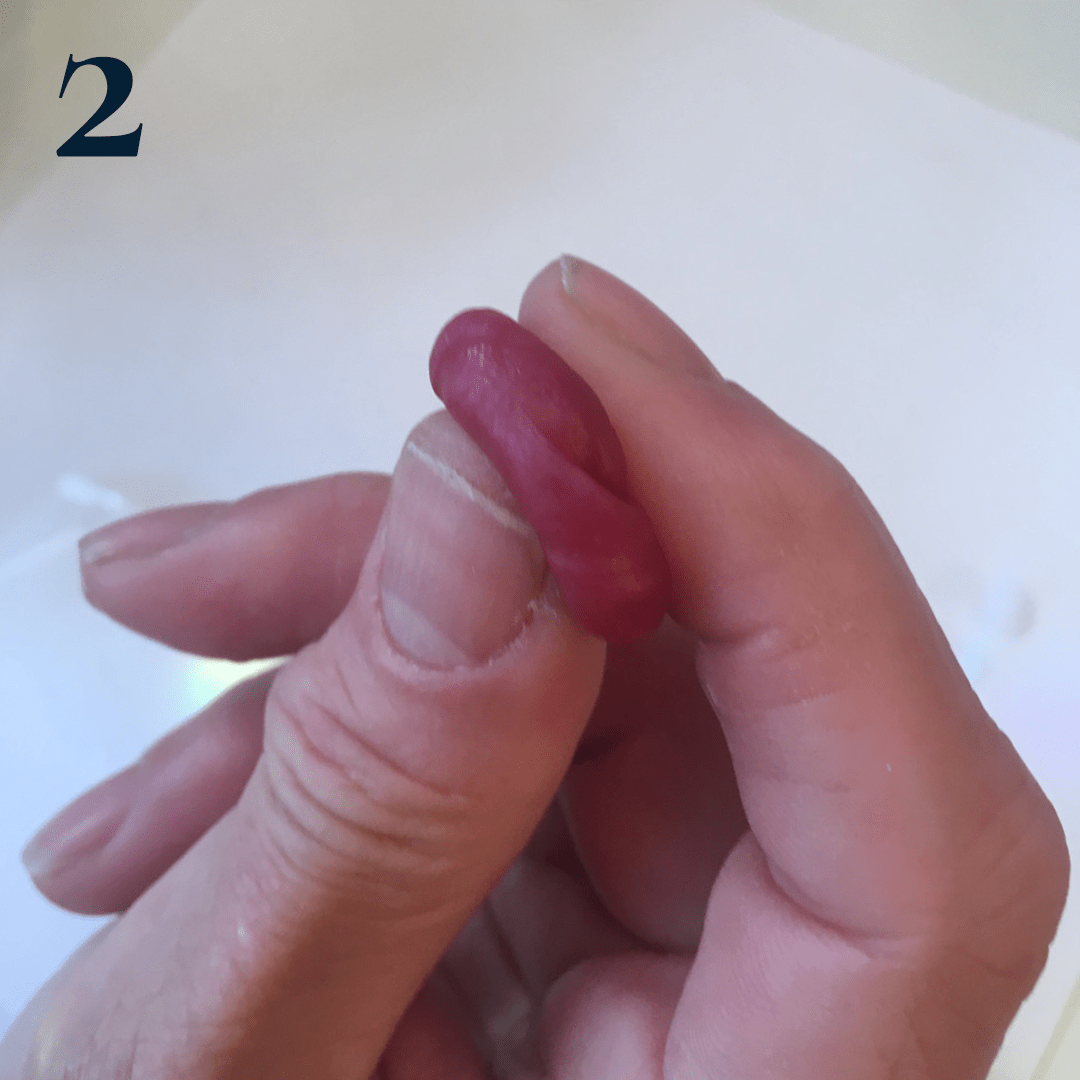
Remove the wax from the hot water and start squishing it between your fingers to soften the wax. (see photo #2)

Place the wax back in the water for a few more seconds, and repeat step 3. Repeat step 3 until the wax is soft through the middle. If you cannot easily squish the wax between your fingers, place the wax back in the water until the wax is soft all the way through.

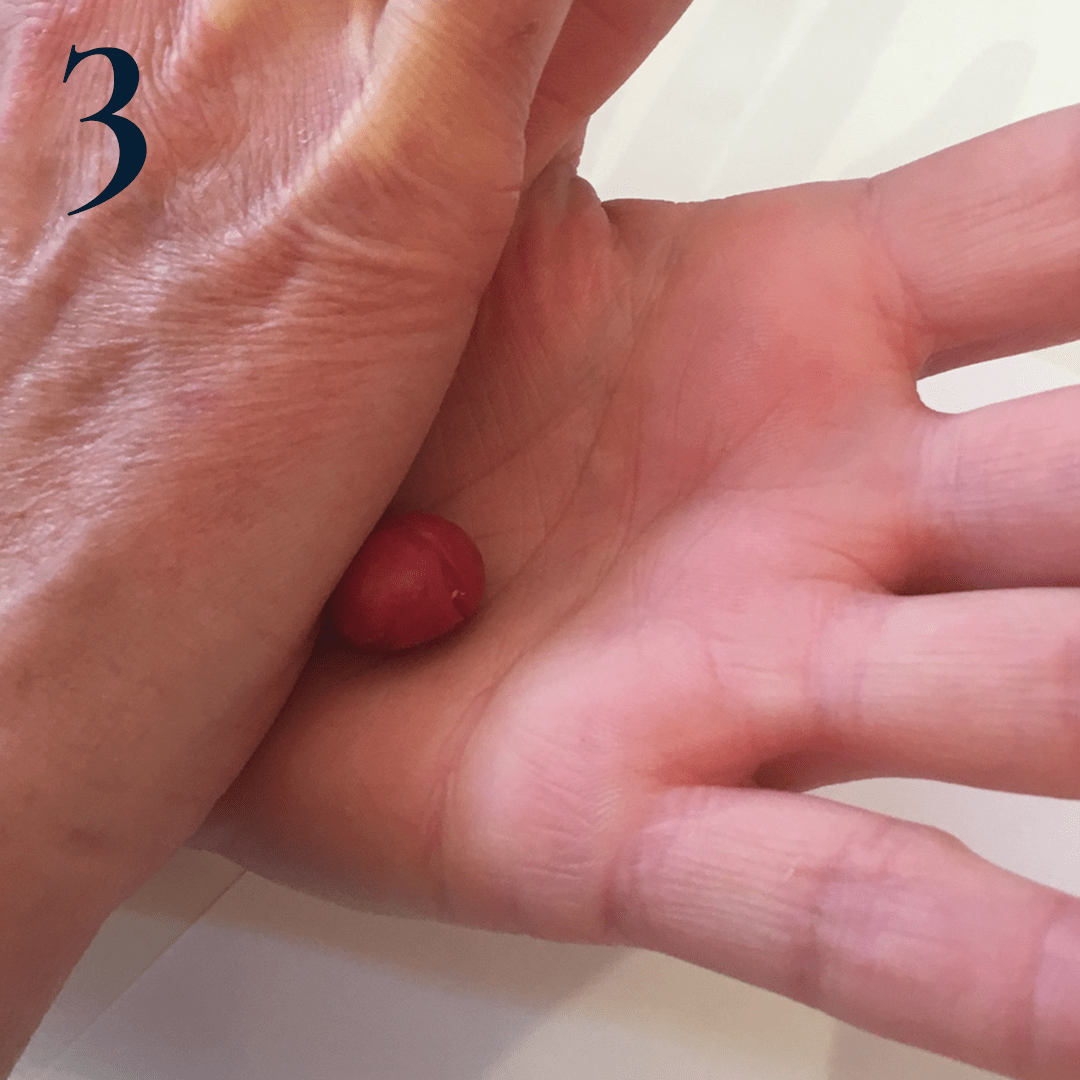
Roll it into a ball between your palms
(see photo #3).

Quickly place the ball of wax on the wax paper before the wax hardens. Wax starts to harden as soon as it is taken out of the water, so please take your impression as quickly as possible.

Step #2

Making the impression.

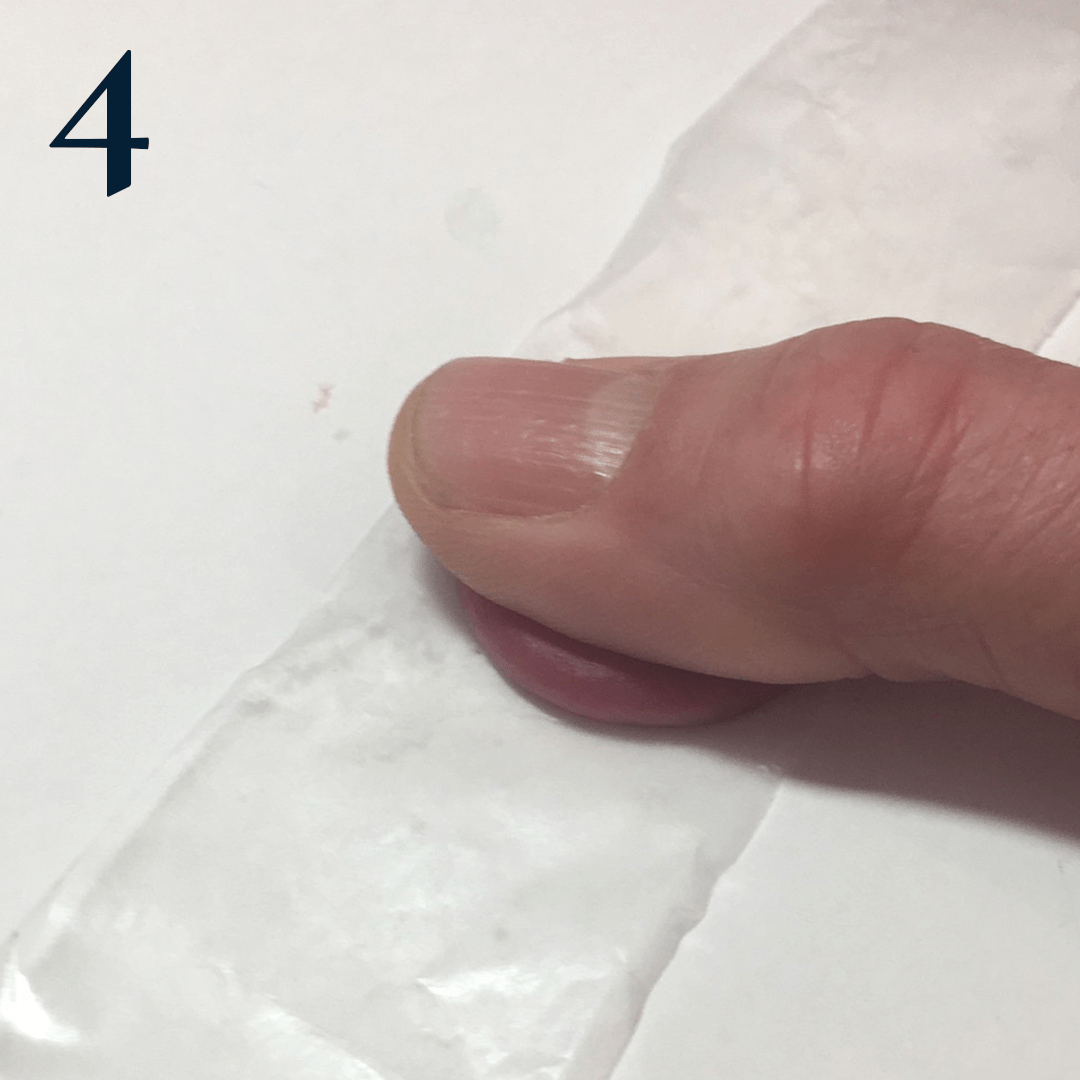
With the soft ball of wax in the center of the wax paper, press the thumb straight down on the center of the wax (photo #4).

  • We suggest using the thumb for the impression because it is the largest digit.
  • We suggest including the “whorl” portion of the fingerprint in the center of the impression for an exciting piece. It’s the part that “swirls”, about ⅔” of the way down from the top of your thumb.

Roll the thumb from side to side. Avoid sliding or smearing the finger when making the impression.

Gently raise the thumb up off the wax and check the print in the light. Check out this page to see what a good wax impression should look like.

Repeat this process for each wax impression or if you would like to retake the impression. Waxes can be reused until the best impression is achieved.

  • If you are getting cracks in the wax and not a defined print, try softening the wax more. This may require reheating the water to the proper temperature.
  • It may take a few tries to get a good impression so please be patient!

Step #3

Packing your waxes

Once you are satisfied with your wax impressions:

Allow the wax to cool and harden.

  • If the weather is warm, place the waxes (leave them on the wax paper) in the refrigerator for 5-10 minutes before placing them in the container.

Once cooled, gently fold both ends of the wax paper over the wax impression. Do NOT press the paper against the fingerprint impression.

Place the wax and wax paper in the cup provided in your kit. Avoid overhandling the wax.

Label the container with the individual's name or initials.

*Please store your waxes in the refrigerator, or a cool place, until you ship.

Step #4

Shipping your waxes

If possible, please ship the impressions back to Loveprint Jewelry in the same box it arrived in.  If that box is not available please ship in a suitable box.  Do NOT ship in a padded envelope. The containers may get crushed damaging the wax impressions.

  • Please make sure each wax impression is properly labeled prior to packing.
  • Attach the prepaid mailer to the box and drop off at USPS. Didn’t get a prepaid mailer? Please contact customer service.
  • You may return the Loveprint To-Go container with your order and we will recycle it.

We will contact you when we received your order. It typically takes 3-4 weeks to create your Loveprint piece(s). If you need to receive your order by a specific date, please let us know and we will do our best to accommodate you!

Tips for Taking Young
Children's Imprints.

We recommend waiting for a child to be 15 months old for a well-defined fingerprint wax impression. We recommend palm prints for children under 15 months of age.

  • When taking a child’s print, use your own finger as a “backing” for better ease. Use the wax paper between your finger and the wax to take the print.
  • Take the thumbprint to include the first knuckle crease—this is where the first sign of clear fingerprint lines appears
  • If your child is being uncooperative, take the impression while the child is asleep.
  • It may take several tries so please be patient!

Some customers are satisfied with just the outline of an infant’s fingerprint so they can create an early life memento. Other parents want a more defined print and prefer to wait. The choice is yours.